Overview:
This article explains how Rostering works and how to assign it to an employee. You'll learn the difference between a Work Schedule (the rule) and Rostering (the actual shift assignment), and the steps to set up on a Rostering schedule.
Important Notice:

Want access to Rostering module? Just email us at support@omnihr.co or reach out to your account manager — access isn't automatic and depends on your subscription's eligibility.
TABLE OF CONTENTS
What's Rostering?
- Rostering is a brand new module that helps you plan and manage shifts for teams whose schedules change often — think operations, retail, or F&B staff. Instead of manually editing Work Schedule history every time a shift changes, you can now handle shift planning in one dedicated place.
What's New?
- To keep things simple, Rostering separates scheduling into two layers:
| Layer | What it does |
|---|---|
| Work Schedule (the rule) | This is to tells the system whether an employee follows a fixed schedule or a dynamic (Rostering) schedule |
| Rostering (the assignment) | This is to defines the actual shifts an employee works, including recurring patterns and one-off changes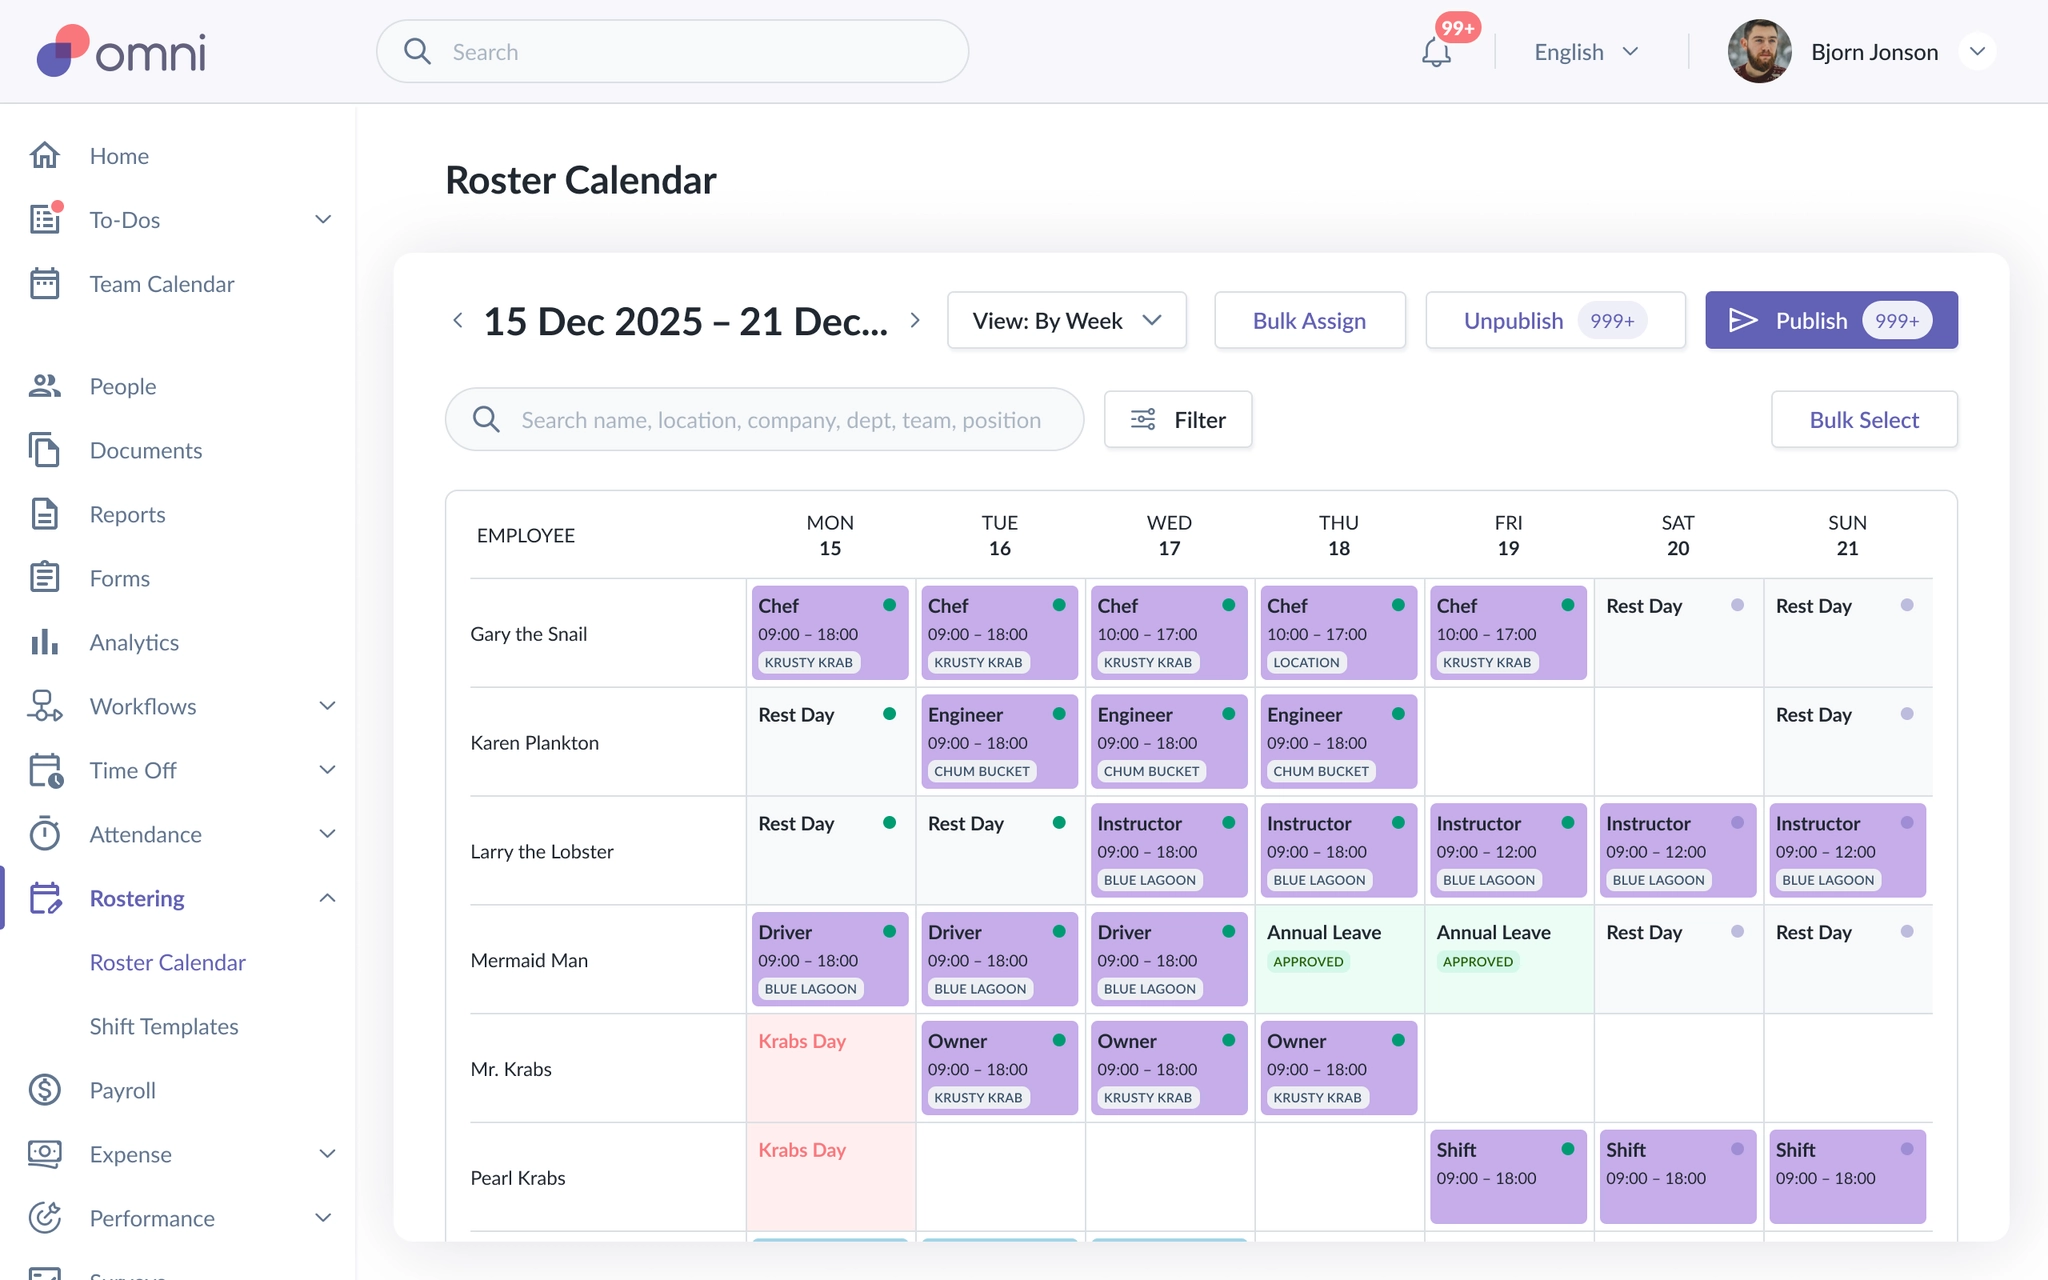 |
How to Create and Assign Rostering Work Schedule- Go to Setting > Work Schedule. If you already have some created work schedules, you'll see them in this page.
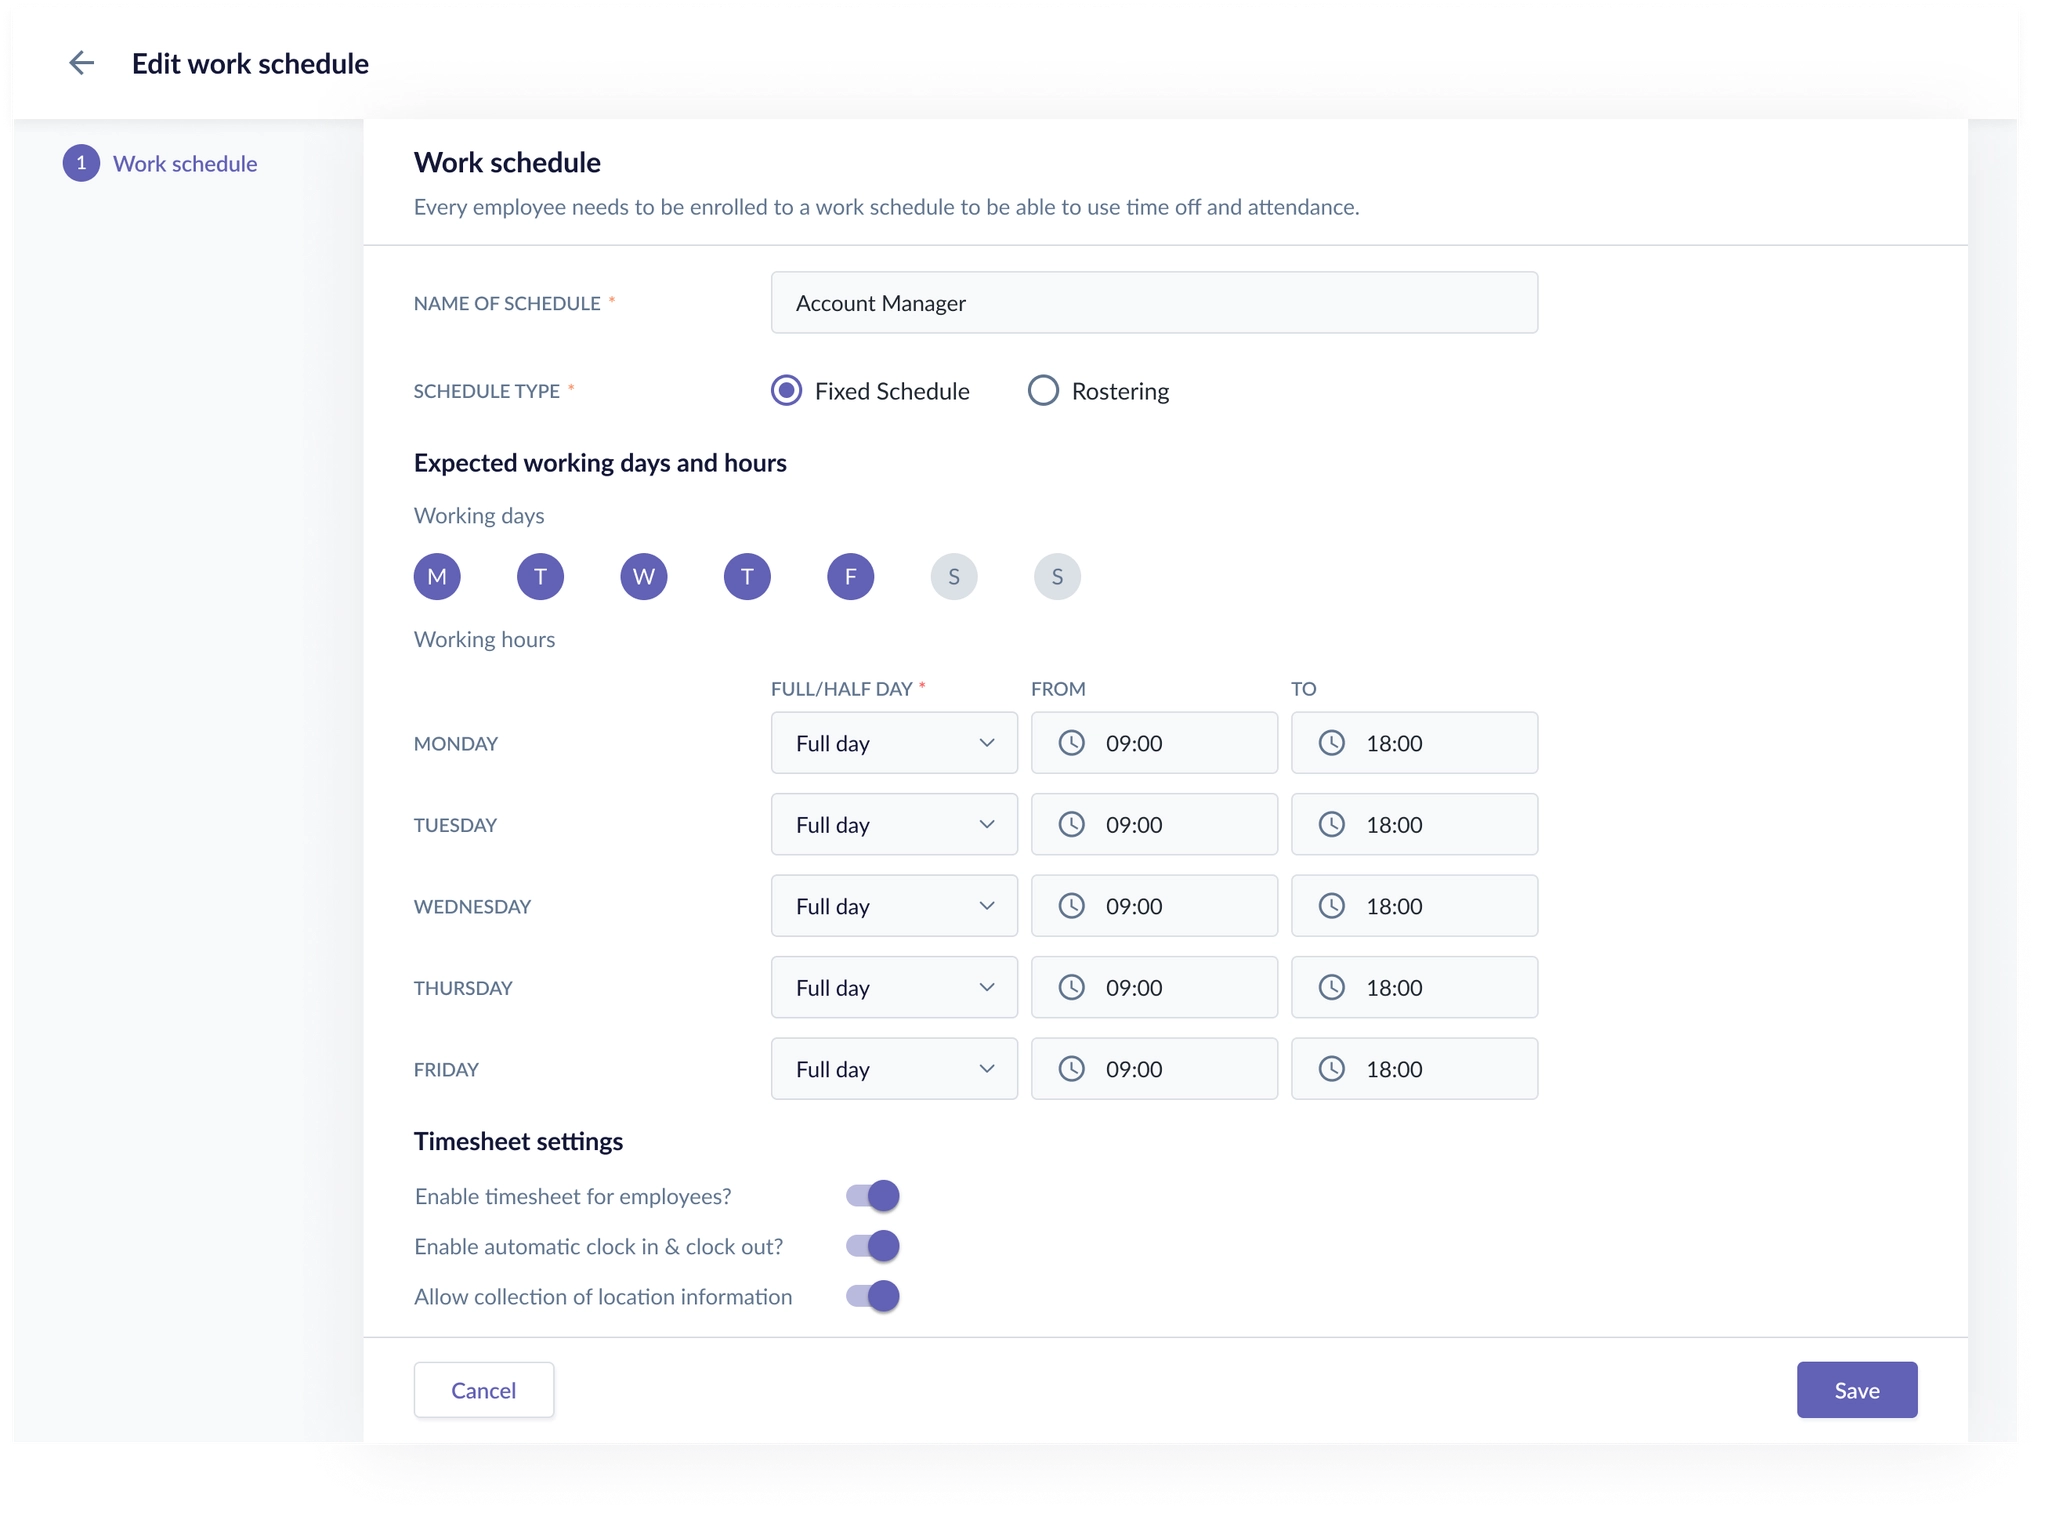
- There are 2 different tags for the work schedule type:
- Fixed Schedule — for employees with a static schedule that rarely changes (e.g. white-collar roles)
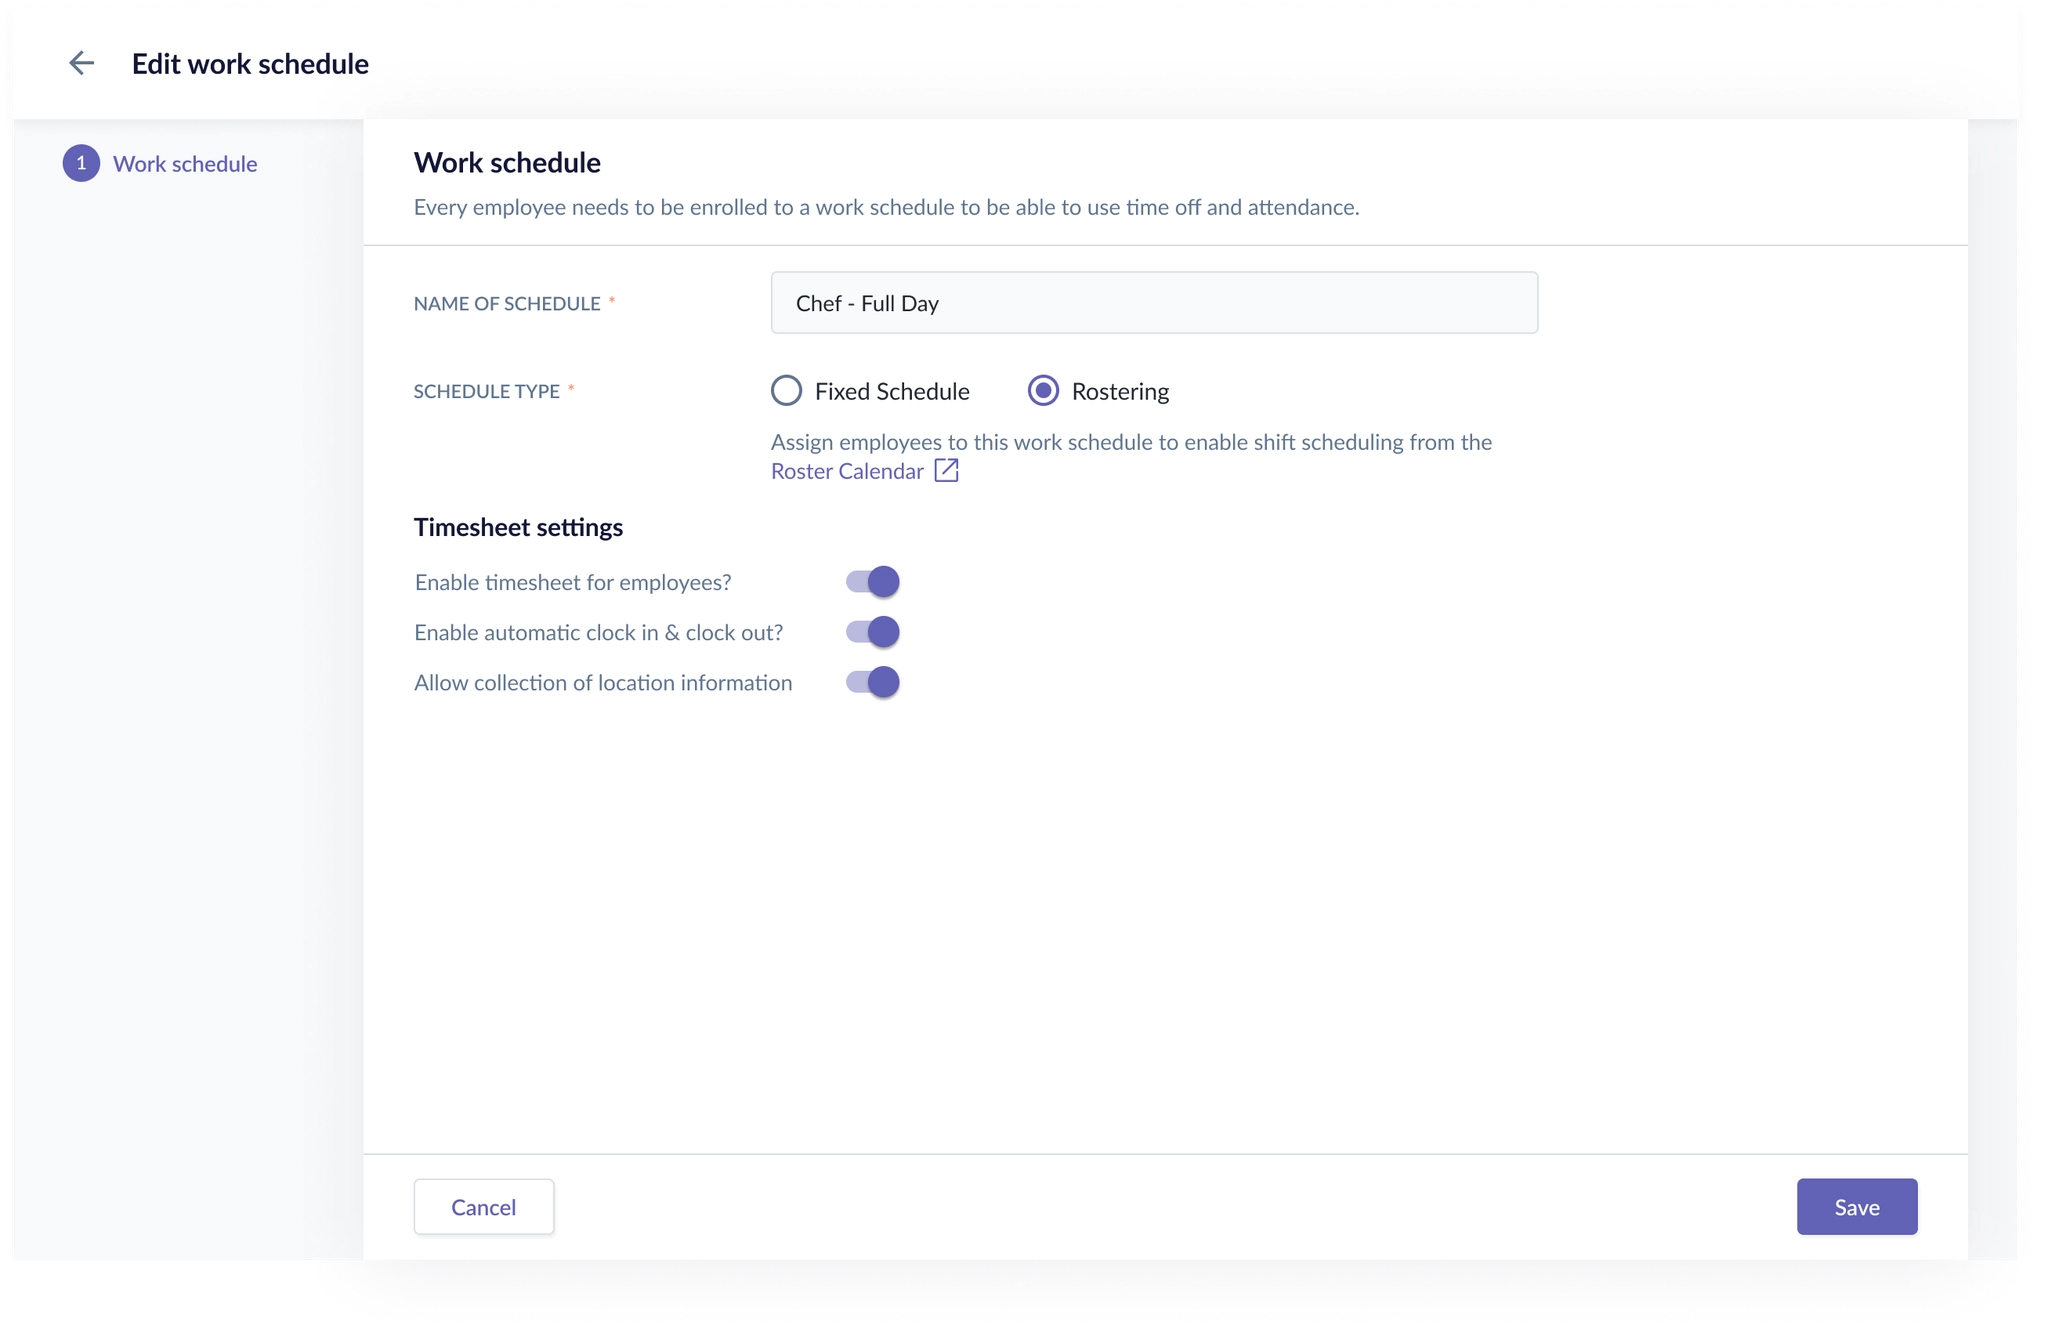
- Rostering — for employees with dynamic, shift-based work
- Note: The existing work schedule will be tagged as "Fixed Schedule" type by default once Rostering is released — no action is required unless you want to place specific employees on a Rostering type schedule.
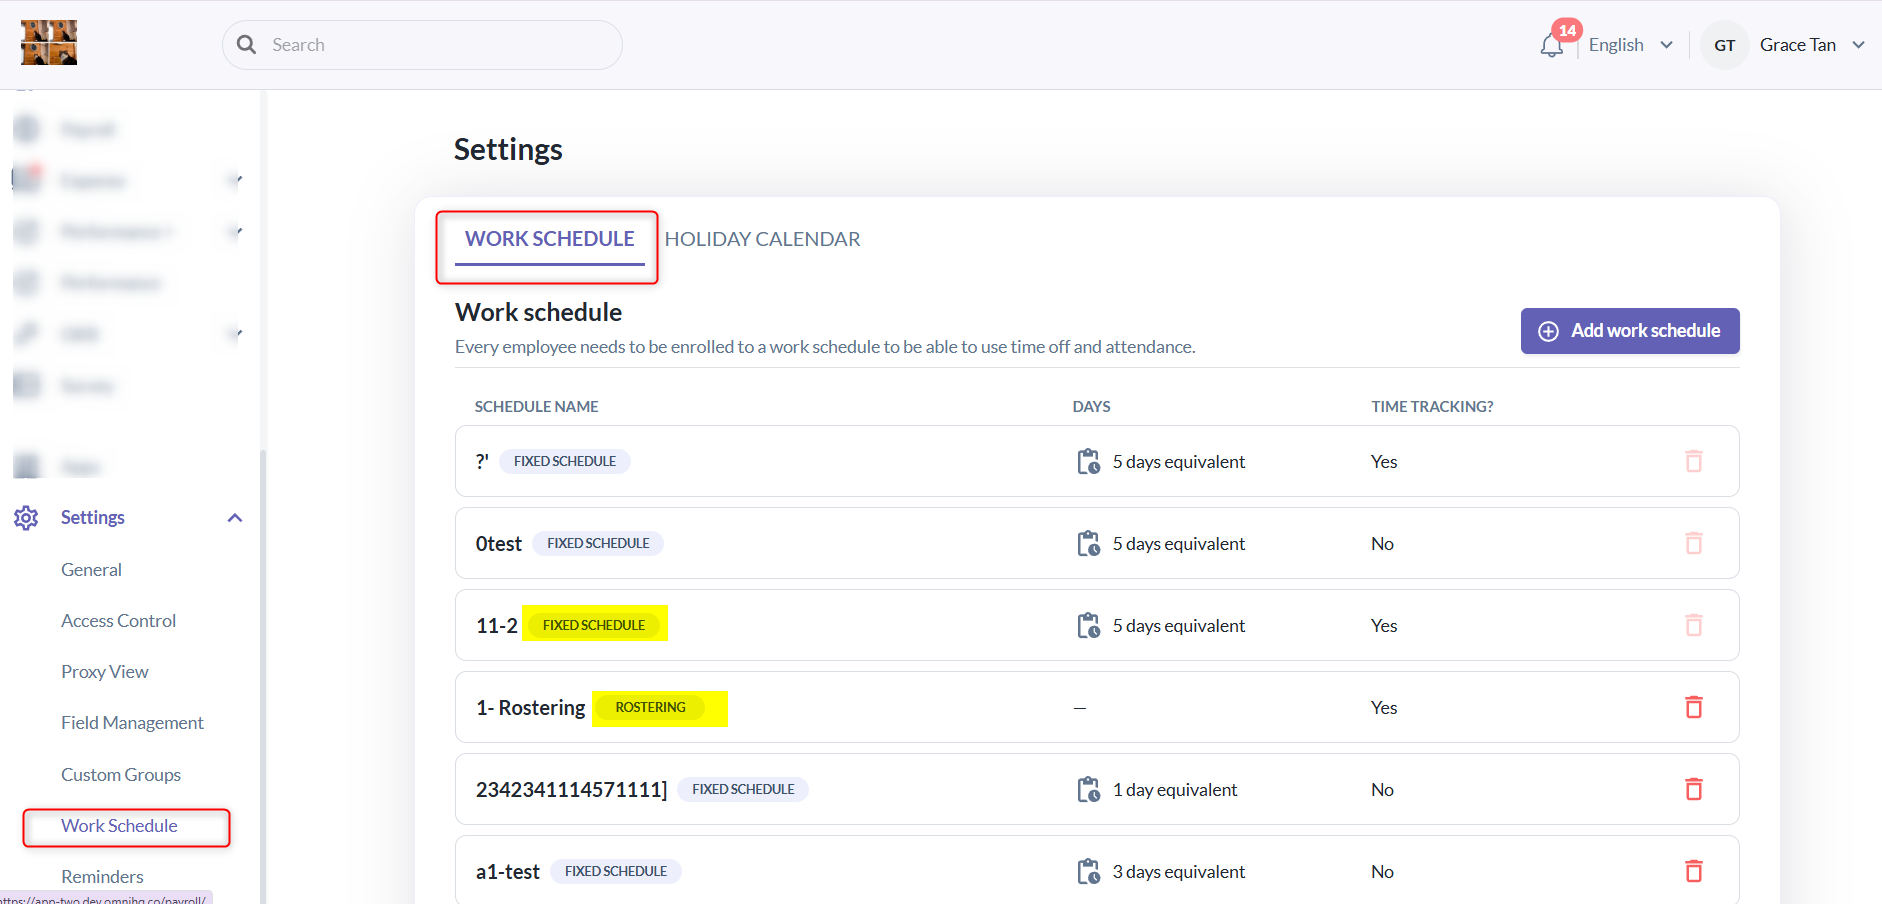
- Click Add work schedule. You will be brought to a page where you'll input the specifics of the work schedule.
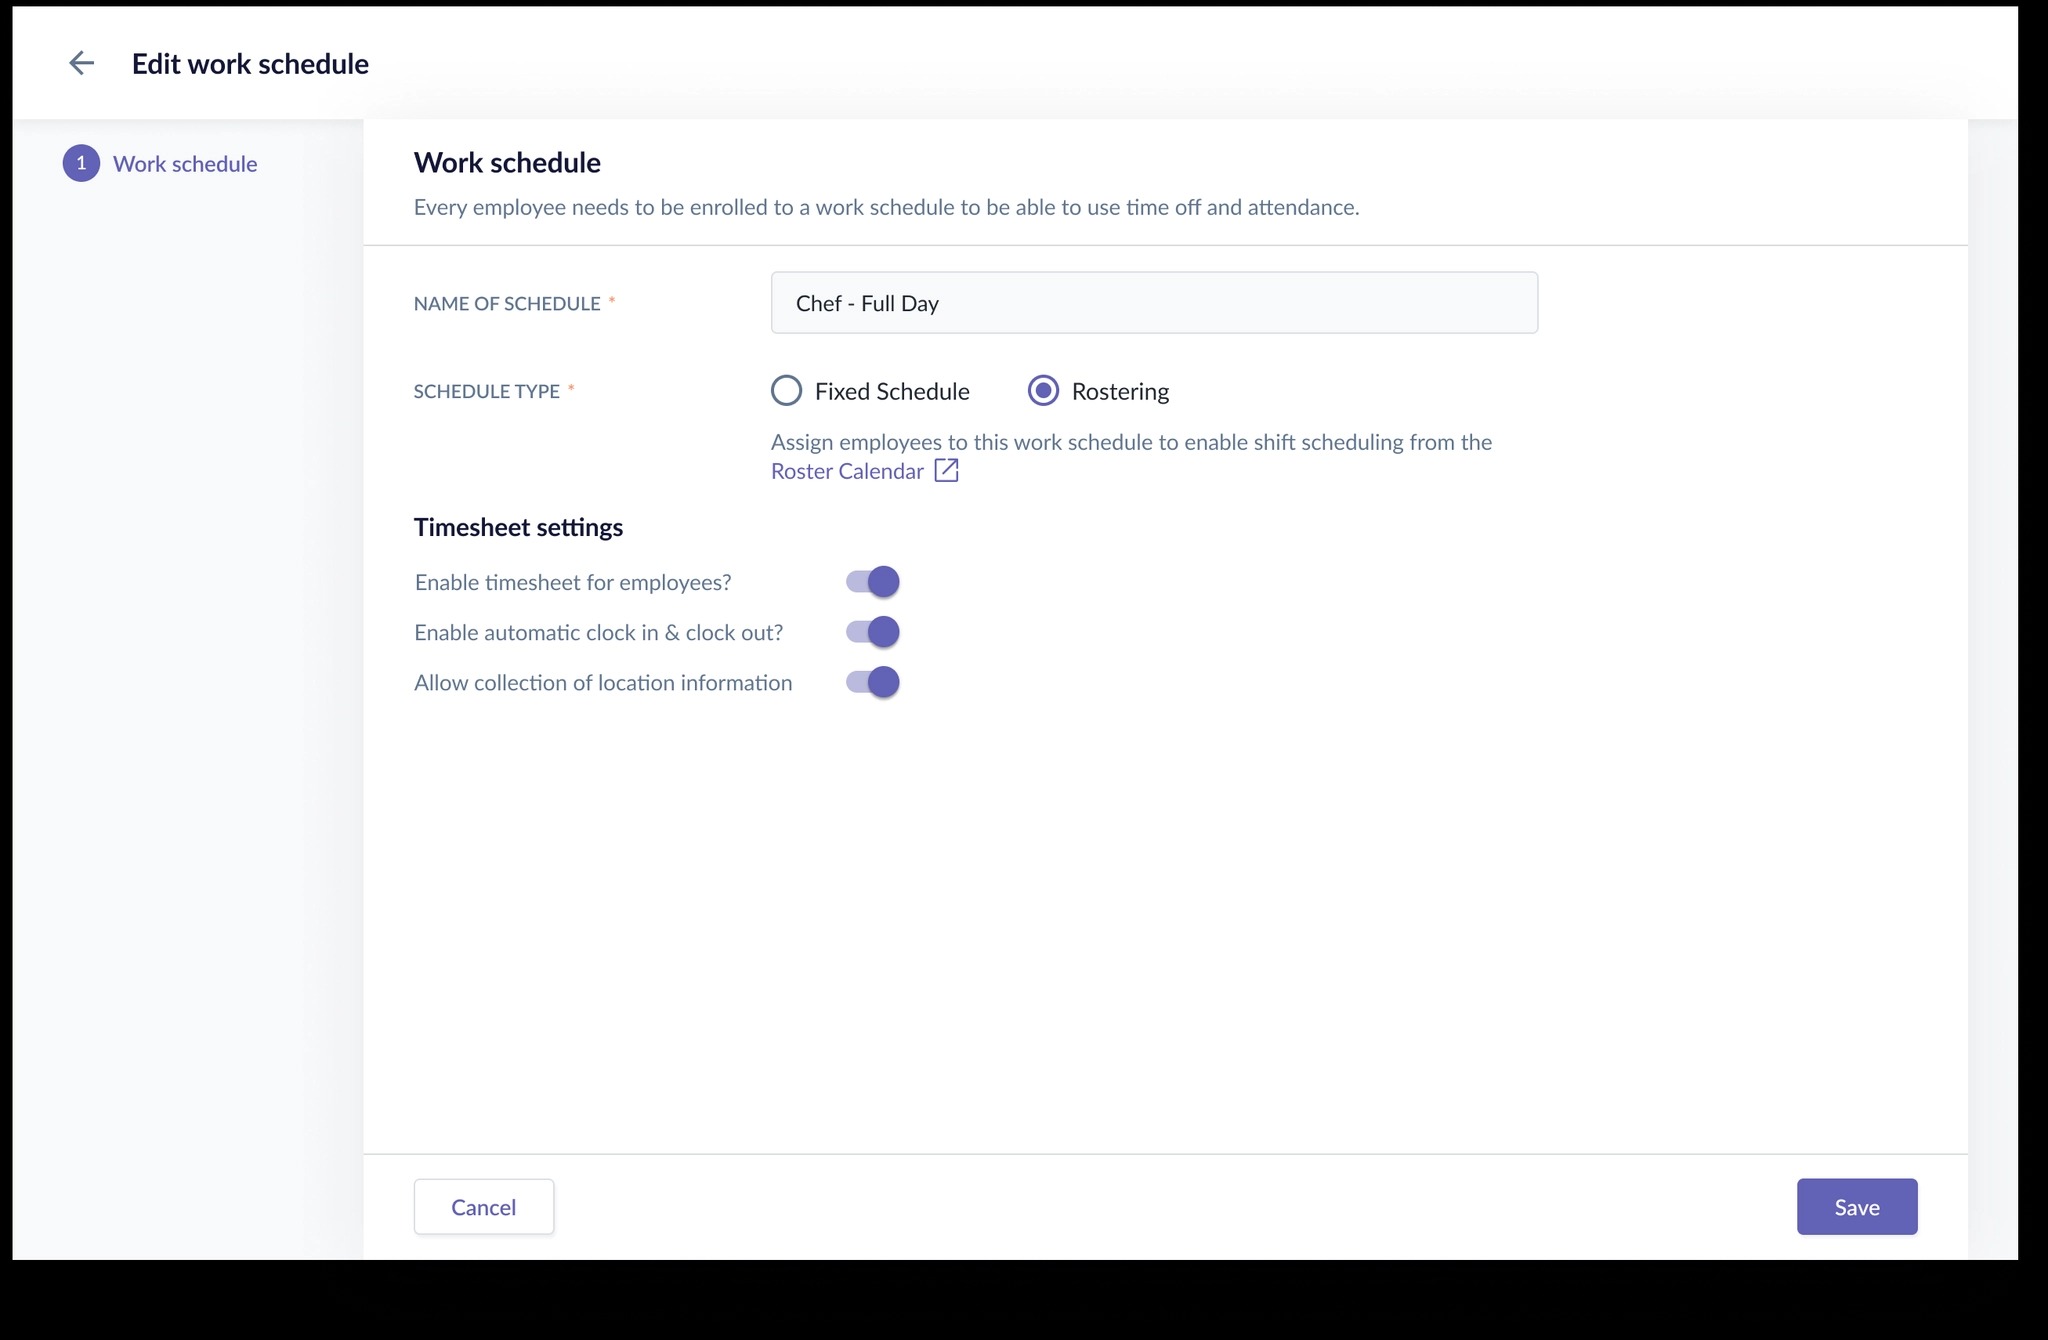
Input the important details, i.e. Name of Schedule, and select the schedule type = Rostering and timesheet settings, and click Save.
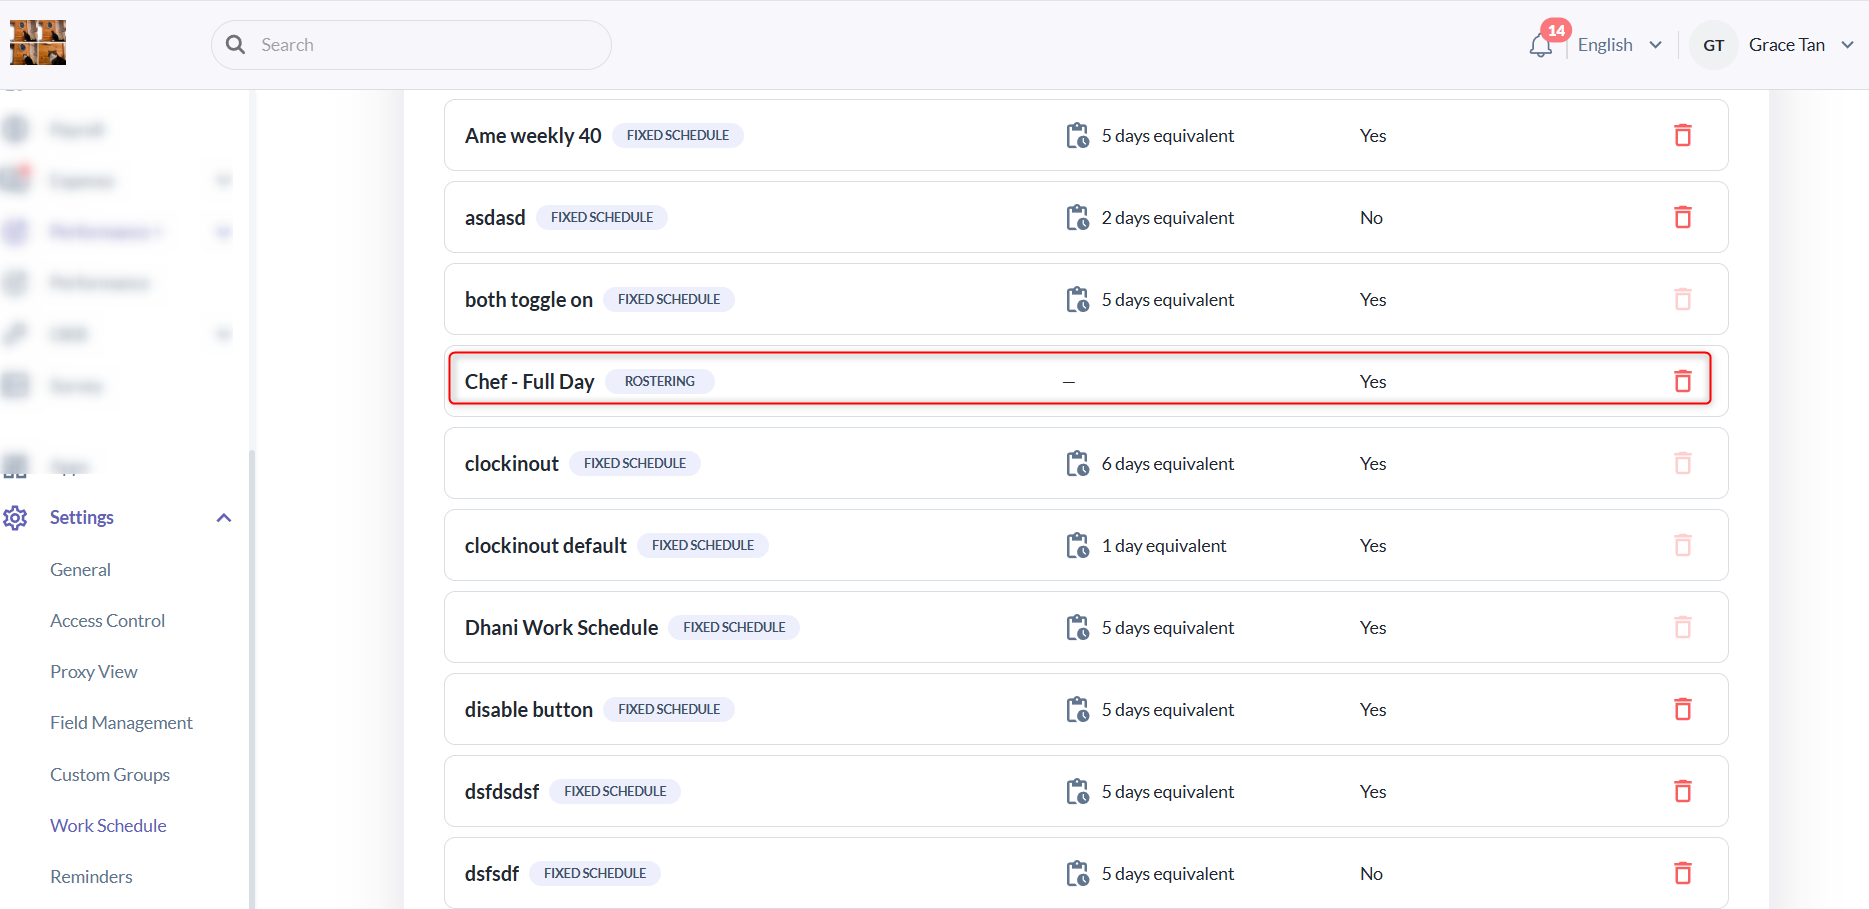
It should now appear in the list of work schedules.
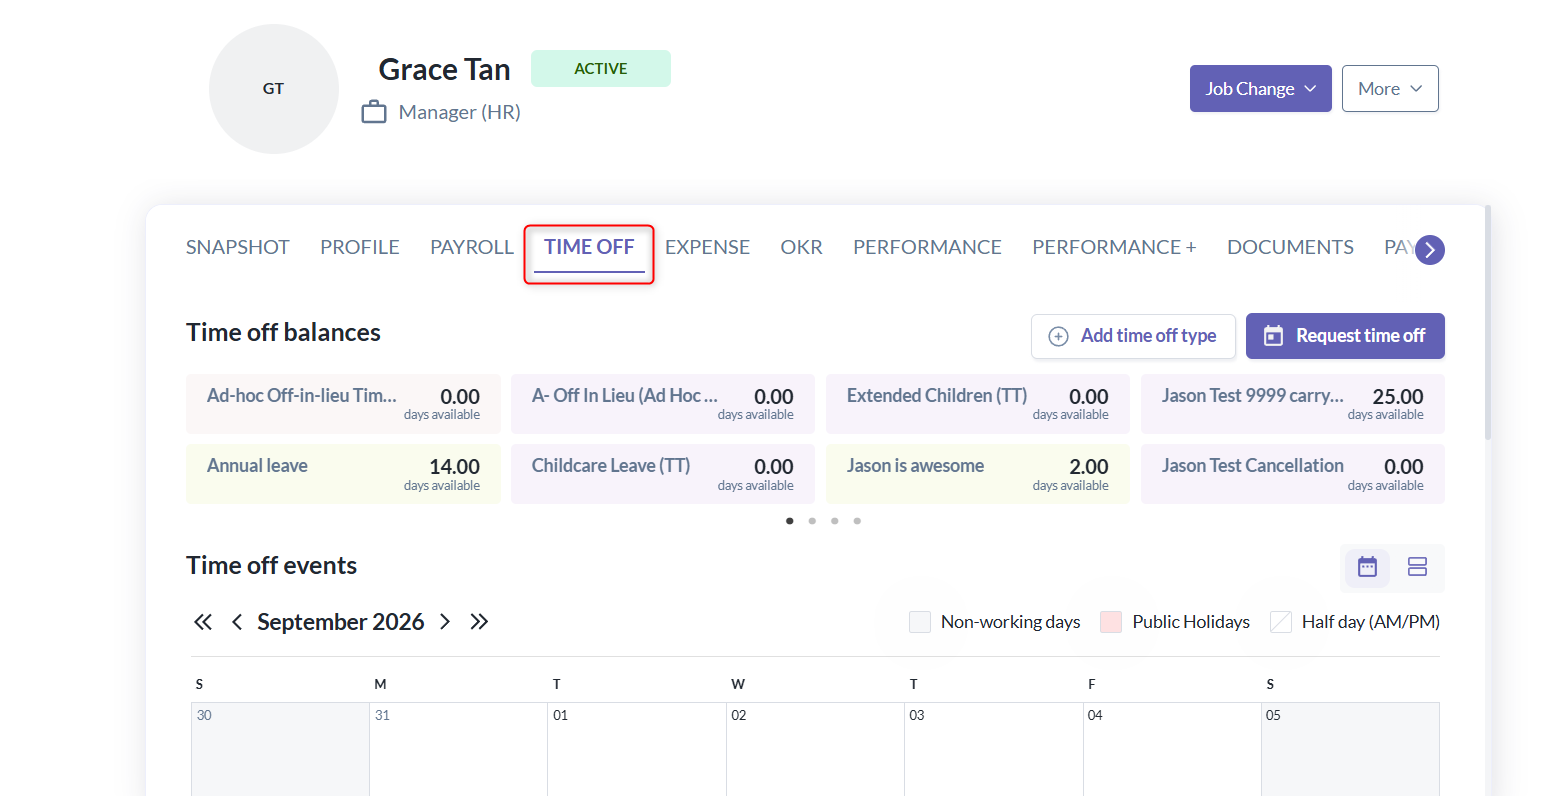
- Go to an Employee Profile > Time Off tab.
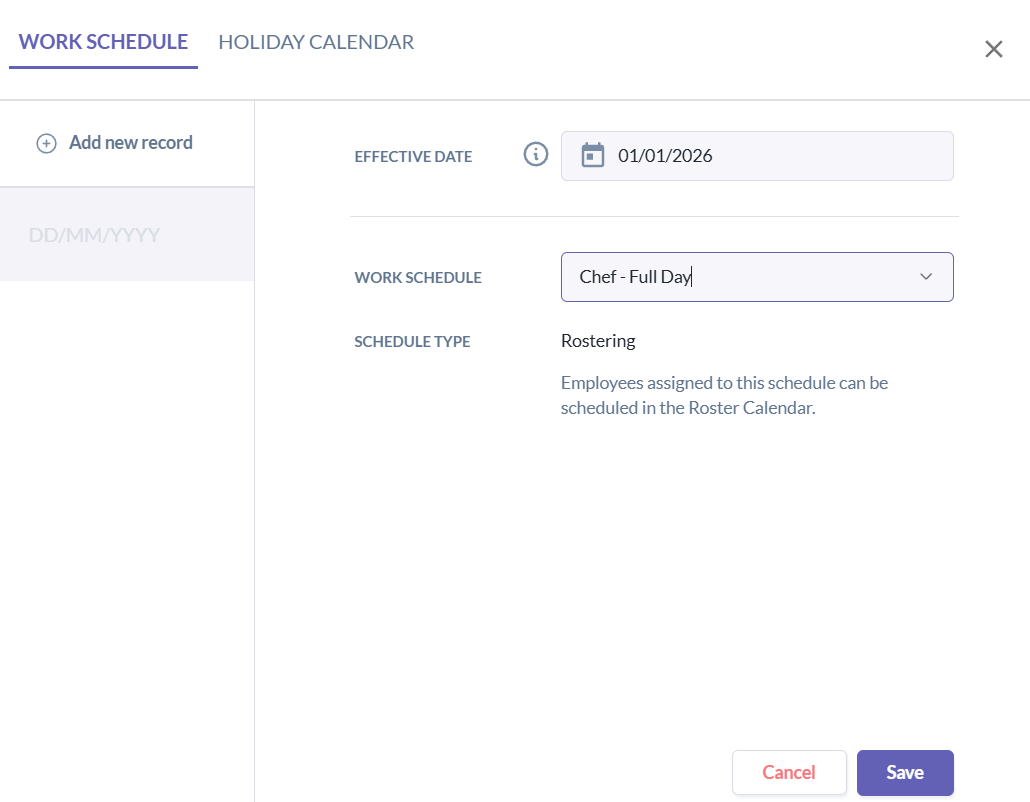
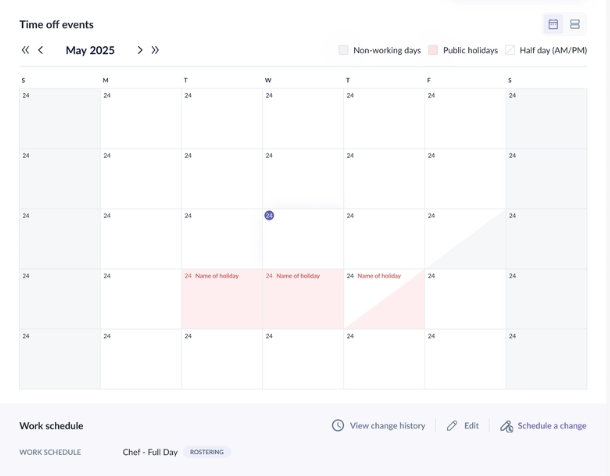
- Scroll down to Work Schedule > Hover your mouse and click Schedule a change > Enter the Effective Date and choose the Work Schedule from the dropdown > Click Save.
- The Work schedule should now reflect in the employee's calendar, with days colored gray as the rest days, and those colored white as the working days.
- There are 2 different tags for the work schedule type:
- Fixed Schedule — for employees with a static schedule that rarely changes (e.g. white-collar roles)
- Rostering — for employees with dynamic, shift-based work
- Fixed Schedule — for employees with a static schedule that rarely changes (e.g. white-collar roles)
- Note: The existing work schedule will be tagged as "Fixed Schedule" type by default once Rostering is released — no action is required unless you want to place specific employees on a Rostering type schedule.
Input the important details, i.e. Name of Schedule, and select the schedule type = Rostering and timesheet settings, and click Save.
It should now appear in the list of work schedules.
- Scroll down to Work Schedule > Hover your mouse and click Schedule a change > Enter the Effective Date and choose the Work Schedule from the dropdown > Click Save.
- The Work schedule should now reflect in the employee's calendar, with days colored gray as the rest days, and those colored white as the working days.
Was this article helpful?
That’s Great!
Thank you for your feedback
Sorry! We couldn't be helpful
Thank you for your feedback
Feedback sent
We appreciate your effort and will try to fix the article